Installing Kubuntu on a MacBook Air without rEFIt

At the end of our last tutorial I recommended readers to use rEFIt and avoid more complex solutions, but I offered to write another how to if any reader was interested on using Kubuntu without rEFIt. Reader “Kashi” asked for a way to do so, the drawback of having to press Alt every time he wants to boot into Linux was not a problem: He’s installing Linux to an external hard drive (It’s worth noting that this guide should work equally well if you want to install Kubuntu into an internal partition.). So let’s get to it.
Setting up the partitions
Last time we only needed two partitions one for swap and another for the system (and optionally one for /home), this time we’ll need to create at least three different partitions. Once you’re on the live session open Kubuntu’s partition manager, plug your USB hard drive and create a FAT32 partition 250MB long, then a 4GB swap partition and lastly an ext4 partition with as much space as you wish (alternatively, you could create a 10-30GB ext4 partition and then use the rest for another ext4 partition).
Now is time to open the installer once you get into selecting where to install Kubuntu pick manual. Go to your external drive and select the FAT32 partition and format it to “EFI partition” (note: is the same, but Kubuntu’s installer likes to complain), select your ext4 partition and set the mount point to / (if you made two partitions, then the mount points are / and /home respectively).
Select your EFI partition as the place to install the bootloader and hit next.
Installing boot-repair
Kubuntu will fail to install grub-efi and you won’t be able to boot into your system, thankfully we can workaround this, in my first guide I manually used chroot to install grub-efi, but instead this time around we will use a tool that should make our life way easier. Open a terminal and add the following repository:
sudo apt-add-repository ppa:yannubuntu/boot-repair
Hit enter and then run:
sudo apt-get update
Now we can install the handy boot-repair:
sudo apt-get install boot-repair
Fixing GRUB
Open boot-repair by searching it on the menu or by launching it from a terminal
boot-repair &
You will be greeted by a simple friendly app:
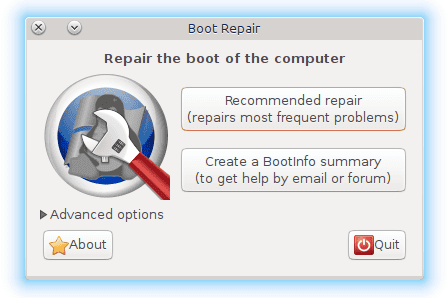
Select Advanced Options and then go to Grub Location and select Separate /boot/efi partition and select the partition in the external drive you want to use, in my case /dev/sdb1:
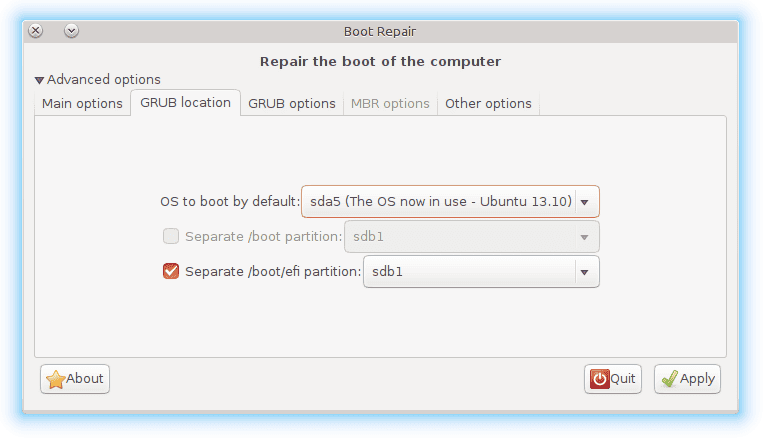
Go to GRUB Options and make sure everything is off, and then click apply. Boot-reapair will start figuring things out by itself, eventually it will ask you to write a few commands on a terminal window (it will do something similar to what we did to install Kubuntu in the internal drive last time, i.e. setup a chroot environment), do as it indicates, just copy and past them.
At the end of the process boot-repair may claim to have failed and ironically will suggest you to try rEFIt, but worry not, boot-repair works better than gives itself credit for, close it and reboot your computer. Press alt while your MacBook is booting and you’ll find a new option: EFI Boot., pick it and the almighty GRUB will appear.
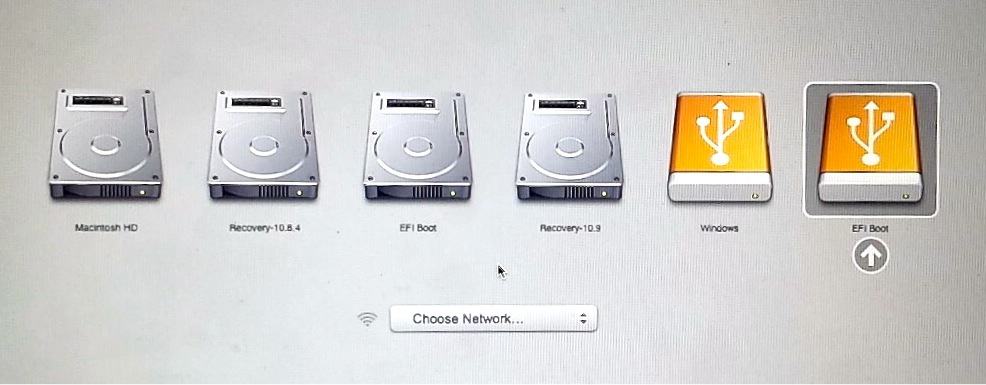
If you created the EFI partition on the internal drive it will look as the first EFI option in the boot list (from left to right) and if you installed it on an external drive it will look as the second one (it only shows up when the drive is plugged in). Hope this guide helped some workaround rEFIt and install Linux the way fits them better.
very helpful tutorial … Thx