RetroArch and libretro

A couple of weeks ago we checked some of Linux best emulators for the so called old-school gamers or retrogamers. The article was partially motivated by the hype produced by OpenEmu, which is a pretty open source front-end for a variety of emulators for Mac OS X (but is functionally limited in some ways). Is there something like OpenEmu for Linux? Kinda. While not as pretty there’s a very good multi-emulator front-end.
Libretro
Libretro is an opensource API to which any emulator (called “cores”) can plug into. Then front-ends can plug to libretro and access all the different cores available. In other words it’s meant to be a bridge between the emulator itself and the interface, by providing a bridge into which any UI or any emulator can plug in, libretro will give users more choice, reduce duplication and increase cooperation.
In fact, OpenEmu’s cores are basically libretro cores without the API part. According to their respective developers the relationship among them is healthy, although I wonder why they don’t just plug into libreto instead. Since libretro is multi-platform (Linux, Android, Windows, OS X, PS3, Xbox, and many others), the front-ends can be multi-platform too provided all the requirements of the UI itself are available (e.g. Qt). In other words, Libretro is a case example of what we argue we should always try to do in The problem with more and more choices.
Any project that is ported to work with this API can be made to run on ANY libretro frontend – now and forever. This is portability and abstraction done right – you maintain a single codebase that only deals with the main program, and you then target one single API (libretro) in order to port your program over to multiple platforms at once.
RetroArch
RetroArch is a very simple front-end for Libretro, referred as the reference front-end of libretro by its developers. Is extremely lightweight and self-contained, it has been basically ported to every modern platform available.
Although the interface is nowhere near as polished as that of OpenEmu, it happens to be far easier to control with a keyboard. OpenEmu is very mouse-oriented. By default, you move with the keyboard arrows, select an option with “x” and go back with “z”. Everything can be mapped to a gamepad too, this advantage is particularly useful if you build a small PC to play emulators on your TV.
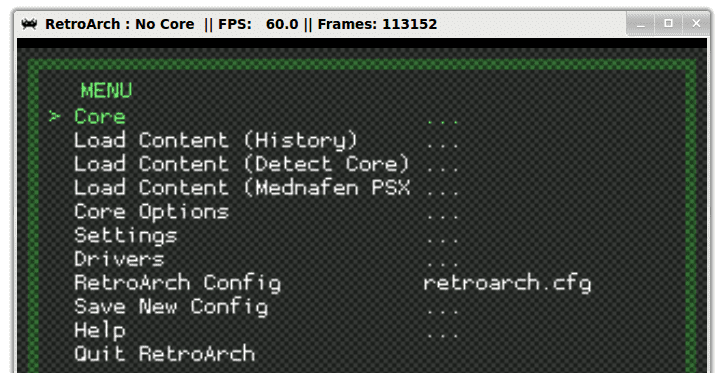
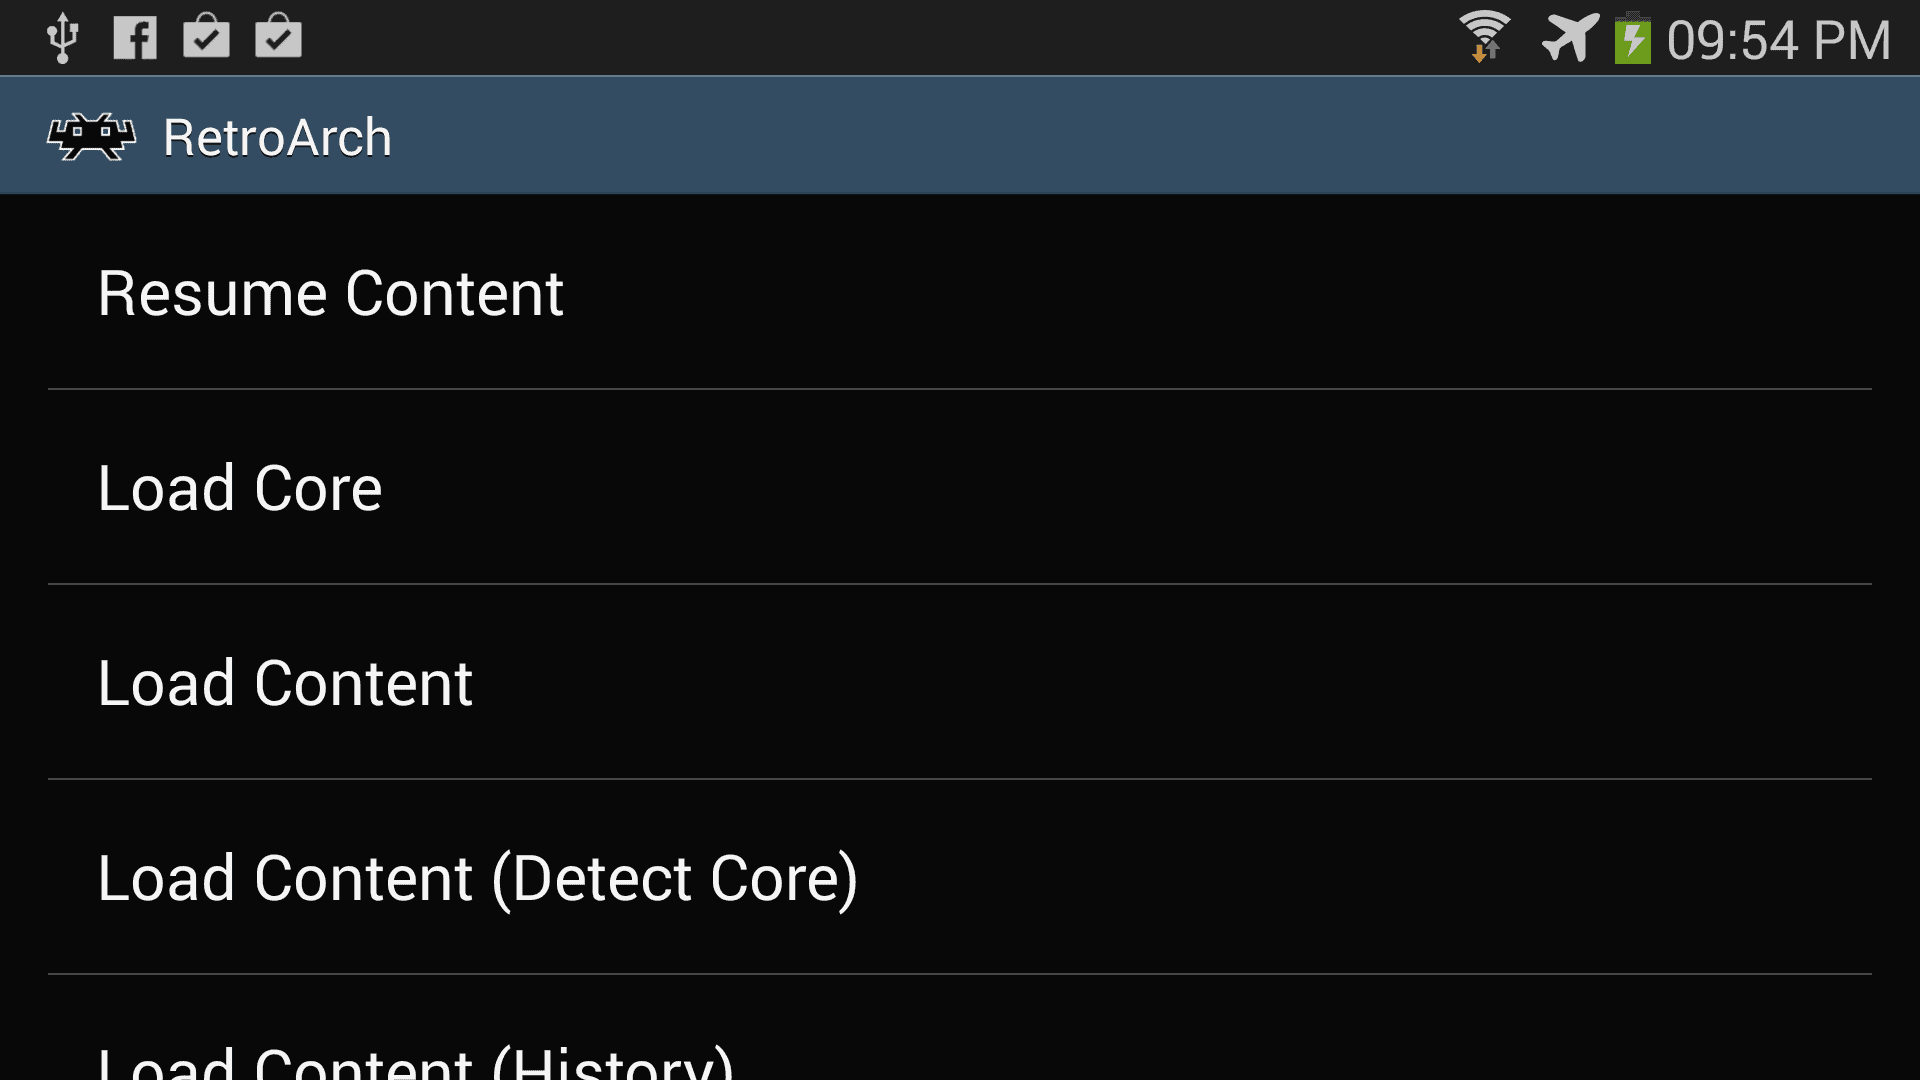
Despite a somewhat intimidating look, RetroArch is very easy to use. To run any ROM you don’t even need to worry about selecting the correct core, you can merely select Load content (Detect core). If there’s multiple cores available to emulate a game, it asks you which one want to use:
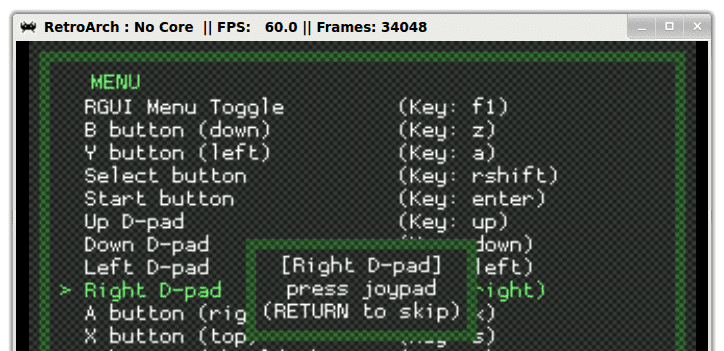
To change how the buttons are mapped you just need to go to Settings > Input Options and then select the button you want to change. You will prompted to press the button you want to map it to, press it, and that’s it (just like with any other good GUI emulator. Note, however, that a serious limitation of RGUI (RetroArch graphical mode) is that it doesn’t support changing how your keyboard is mapped to the emulated controller, only joysticks or gamepads can be mapped.
To change the default keyboard mapping, you will need to edit RetroArch’s config file directly. Also worth noting is that by default RetroArch uses a config file that you don’t have permissions to write to. Therefore, we need to create a new configuration file:
cp /etc/retroarch.cfg ~/Documents/retroarch.cfgt
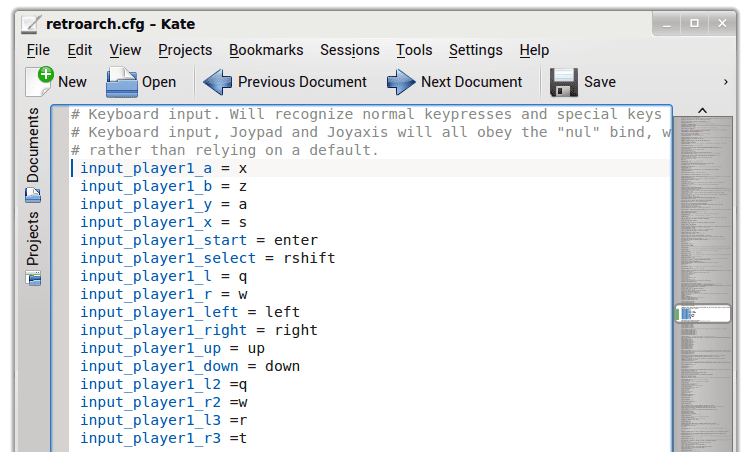
This command copies the default configuration file to your documents directory, where permissions allow you to modify it. Then from RetroArch you can change the config file used by going to RetroArch Config > / > home > [your home folder] > Documents > retroarch.cfg. Then go to ~/Documents/retroarch.cfg and uncomment the options under keyboard input (i.e. remove the “#” from every input_player1 line) and change the keys as you see fit. For example:
Admittedly, this workflow leaves something to be desired. Happily, though, if you’re using an external controller you shouldn’t face major issues. I also recommend players to uncomment the following options:
input_toggle_fullscreen = f
input_save_state = f2
input_load_state = f4
input_rewind = r
input_slowmotion = e
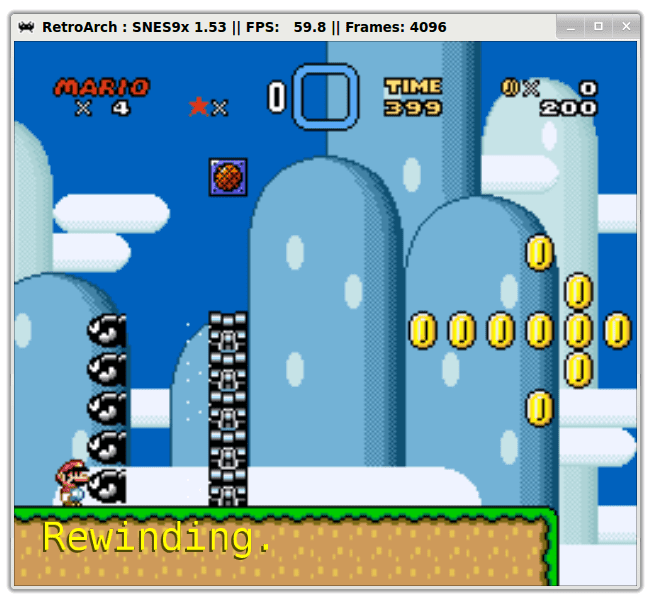
So you can use quick save states, rewind and slow motion. Rewinding is especially useful and fun if you’re playing an extremely hard game, you can simply “go back in time” and correct your mistake. For games like the infamous Super Mario World: Kaizo Edition this feature is a must.
Portability is not just useful for developers
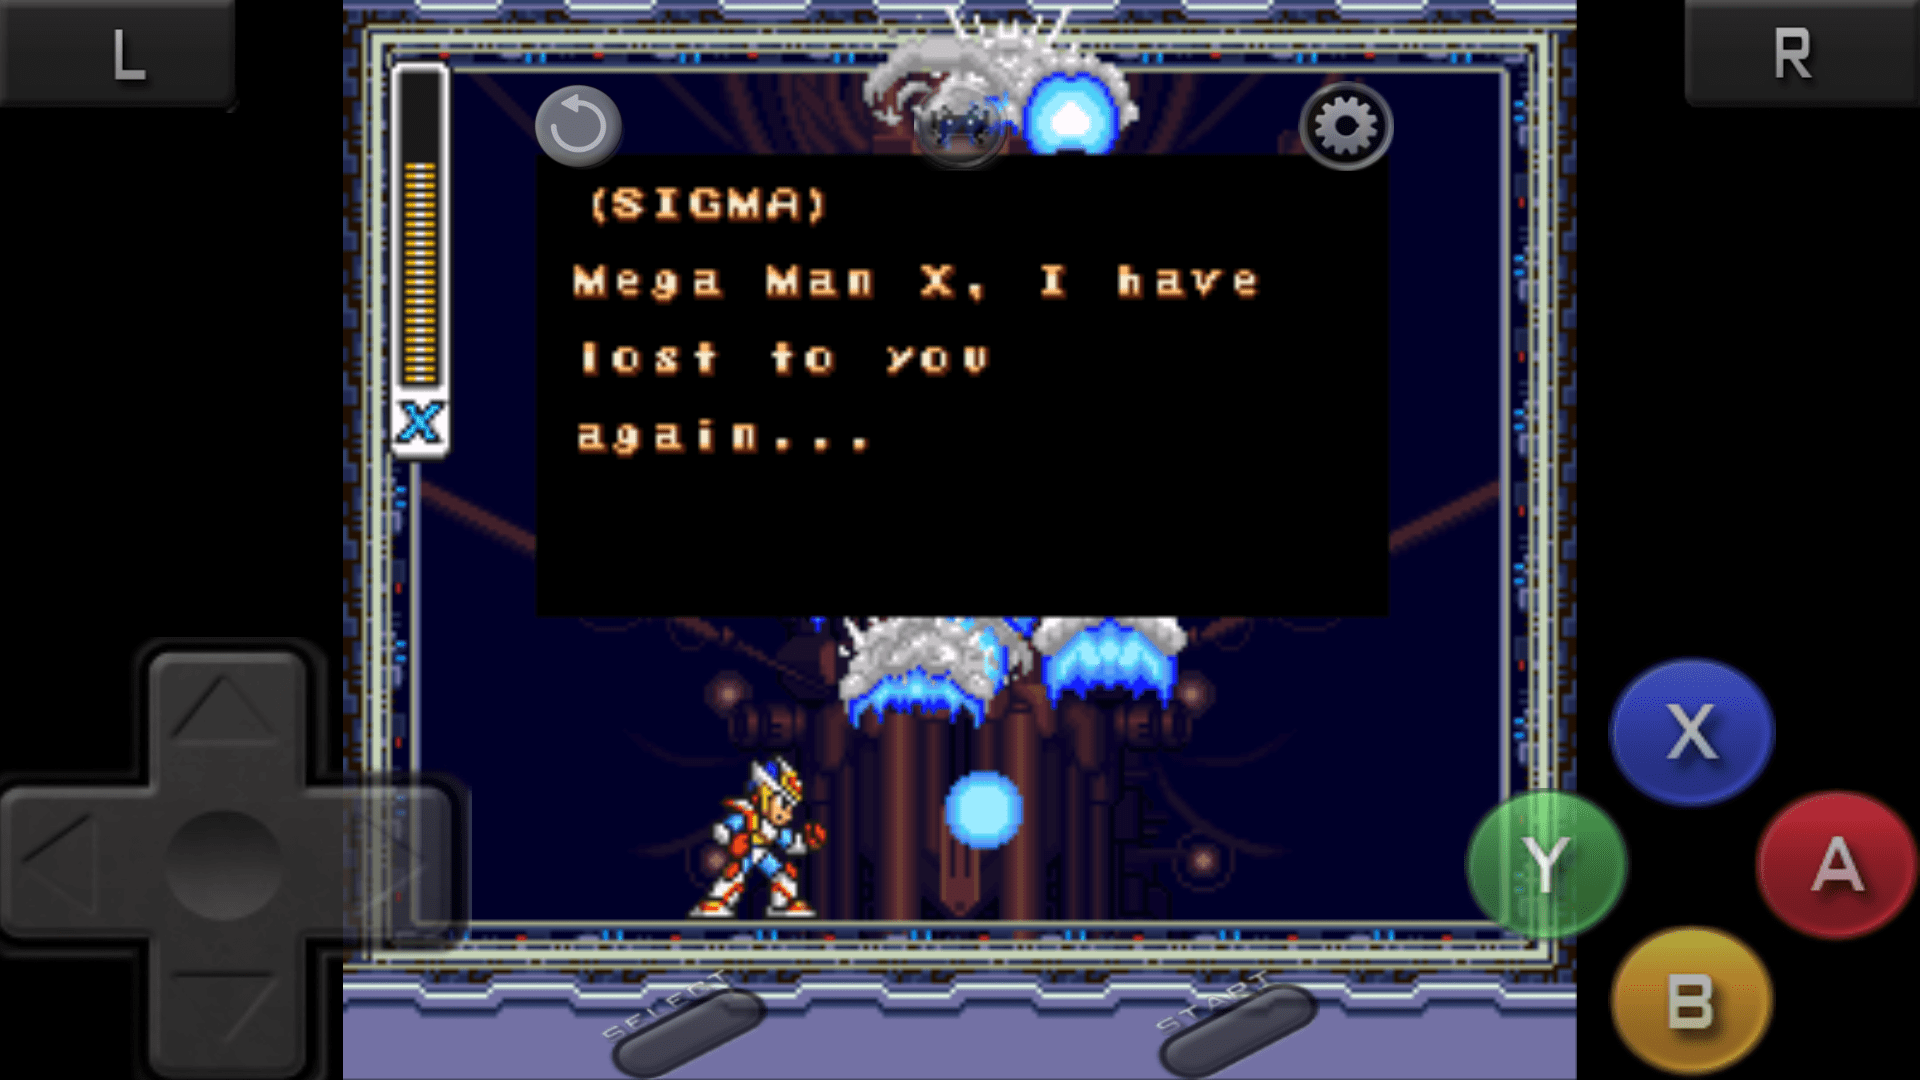
Thanks to libretro and RetroArch’s multi-platform support you can use the same save states from your computer (as long as you use the same core) as you do on your Android devices. Granted, touch controls are not suited for most games, but for genres such as turn-based RPGs they’re perfectly serviceable.
Since save states are cross platform you can easily take your progress with you and back. For example, here I’m playing a rather advanced session of Mega Man X2 on my Android smartphone (this game is particularly hard to play with touch controls but with patience is possible to beat it):
Installing RetroArch
You need to add the corresponding PPA:
add-apt-repository ppa:hunter-kaller/ppa
And then update your repositories and install the necessary packages (the following command will install all cores):
sudo apt-get update
sudo apt-get retroarch libretro*
Conclusions
RetroArch may not be the most user friendly front-end, but it supports a wide variety of system and perhaps its most valuable features is that it can be easily navigated with a gamepad. This gives RetroArch a distinct advantage over other front-ends and stand-alone emulators that are very mouse or keyboard oriented. Mixed with the compatibility of save states across platforms, it makes RetroArch a serious candidate for all your gaming emulations needs: Computers, TVs (indirectly, trough PCs or consoles) andd smartphone are all covered thanks to libretro.

