Tutorial: Virtual Desktops
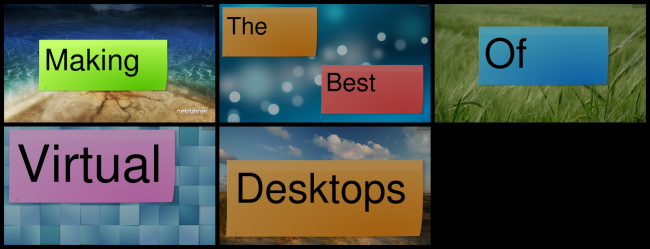
Having multiple Virtual Desktops will be something new for the majority of users migrating from Windows. For them Virtual Desktops will seem like a very novel idea, despite them being first implemented in 1986 on the Xerox PARC under the name “Rooms”. Most users I’ve seen usually try to use and make them a natural part of their workflow because the advantages are obvious: A less cluttered desktop which should result in a faster operation, in which you can spot and organize your apps easier. On practice, most of those users stop trying to make Virtual Desktops part of their life after a couple of days.
Until Mac OS X Leopard was released Virtual Desktops remained an underground idea that most users didn’t even know about, Apple’s implementation was a little bit different than that of its predecessors, a little more straight forward, and a little more intuitive, and yet faced the same problems: users gave up after a few days. Now, with Lion, they’ve tried another approach to it: On Apple’s terminology, fullscreen applications now automatically take their own space. But why is Apple bothering so much with such an unused feature? Because they’re trying to figure out how to make it a part of people’s workflow, the reason Apple constantly try to solve it is the same why users at first try to find a way to use them naturally… Because the advantages seems obvious. While far from perfect, with the latest implementation from Apple Virtual Desktops are slowly becoming a mainstream feature for the first time.
Netrunner, as most Unix-based operating systems, supports multiple Virtual Desktops. Its implementation is similar to Apple’s first try, but to be fair, Apple’s first try was rather a carbon copy of what Unix Desktop Environments did two decades ago (including KDE, which is the Desktop Environment powering Netrunner).
But why all this jibbery joo about Apple? Because I think most people are unable to make it a part of their workflow because it requires them to manually change and adapt and move everything around every single time they want to use Virtual Desktops, by taking a fullscreen paradigm Apple has partially solved the issue, since fullscreen apps will automatically go to their own Space without further user intervention.
Can Netrunner compete with that? Oh yes, not only it can compete, but thanks to a healthy amount of features we’ll see how you can automatize everything about Virtual Desktops to your liking.
Tweaking Netrunner: KWin and Virtual Desktops
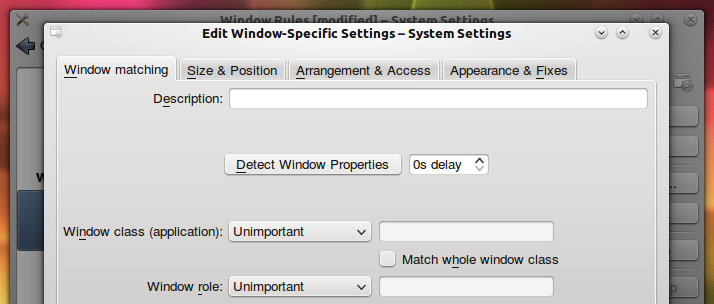
KWin is KDE’s Windows Manager, in other words, it’s the responsible of arranging your windows, of minimizing your windows, size them, among many other things, including managing your Virtual Desktops. It’s both quite powerful and underused. By going to System Settings > Window Behavior > Windows Rules > New. Here you can set many rules regarding the behavior of your apps and windows
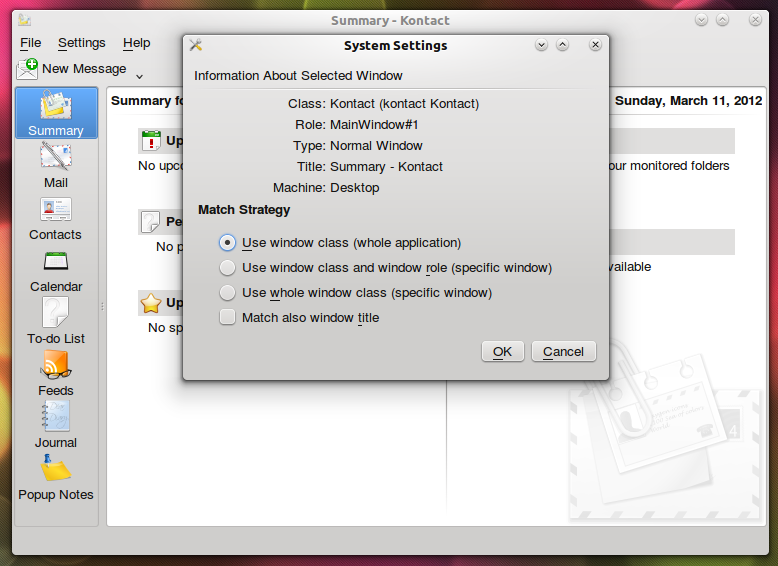
To start we need to select which App or Window we wanna create rules for, this, thankfully, has been mostly automatized, you just need to click on Detect Windows Properties, the cursor will change its form and you can simply click on the App you want to set rules for
There are many options, all self-explanatory, under the various tabs available: Size & Position, Arrangement & Access, Appearance & Fixes. For the purposes of this article we’ll only need to visit Size & Position. Any tickled option is accompanied by a drop down menu that contains the different ways our setting can be applied , most options are clear, but just in case:
- Force: Always followed, every time you open it, no matter what, and can’t be modified unless you manually change or disable it.
- Force temporarily: Followed and unchangeable until closure.
- Apply Initially: Followed, can be modified normally, but will reset the next time you open it.
- Apply now: Followed now, can be modified and won’t reset.
- Remember: Will open with the last settings it had before being closed.
Examples are always clarifying: Imagine we set the size of a window to 80×80, if we were to pick force then we wouldn’t be able to change its size (e.g. maximize it) and it would always open with 80×80, picking force temporarily wouldn’t let us change its size, but the next time we open it, it will behave normally, picking apply initially would let us change its size, but every time we open it we would start with 80×80, picking apply now would change its size, without either resetting every time we open it or forcing it, picking remember would result in the window always starting with the size it had the last time we used it, say we resized our window to 160×80 and then closed it, the next time it will open with 160×80, if we change it to 160×160 and close it again, the next time will open with 160×160, and so on.
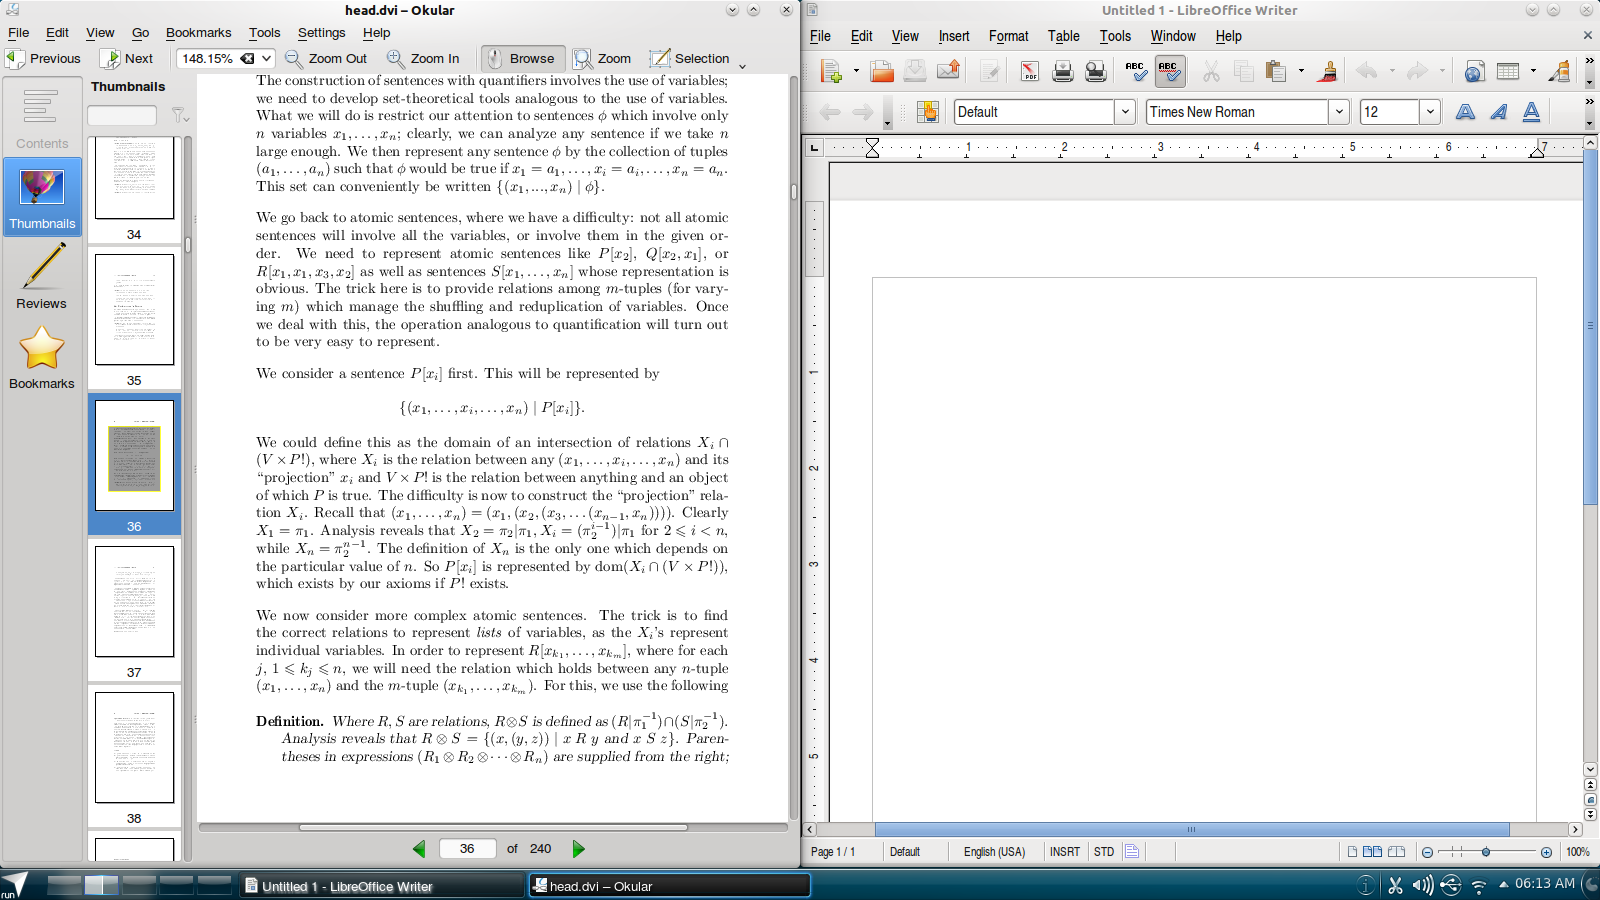
So say we want Writer to always run alongside Okular on our Virtual Desktop 2, perhaps because we usually read PDFs or similar files while writing something about them. We just need to drag Okular to the left side so it occupies half of our screen (this is called Snap on Windows 7), make a new rule for it, tickle size and position and select “Apply Initially” on both (its current size and position are there by default, so we don’t need to guess), select Desktop 2, force (or apply initially if we want to move it to other desktops sometimes), and click ok. For writer we follow the same steps, click ok and we’re done. With a handful of clicks we made our apps behave in a very specific way
This is a very simple example, you can set any Application or Window to any specific Desktop, you can manage its size and its position on that Desktop, and all of it could always be remembered, never again you’ll have to manually setup everything every time. For instance, may be you could set all Media Application to open in certain desktop, all work related apps in another, and so on.
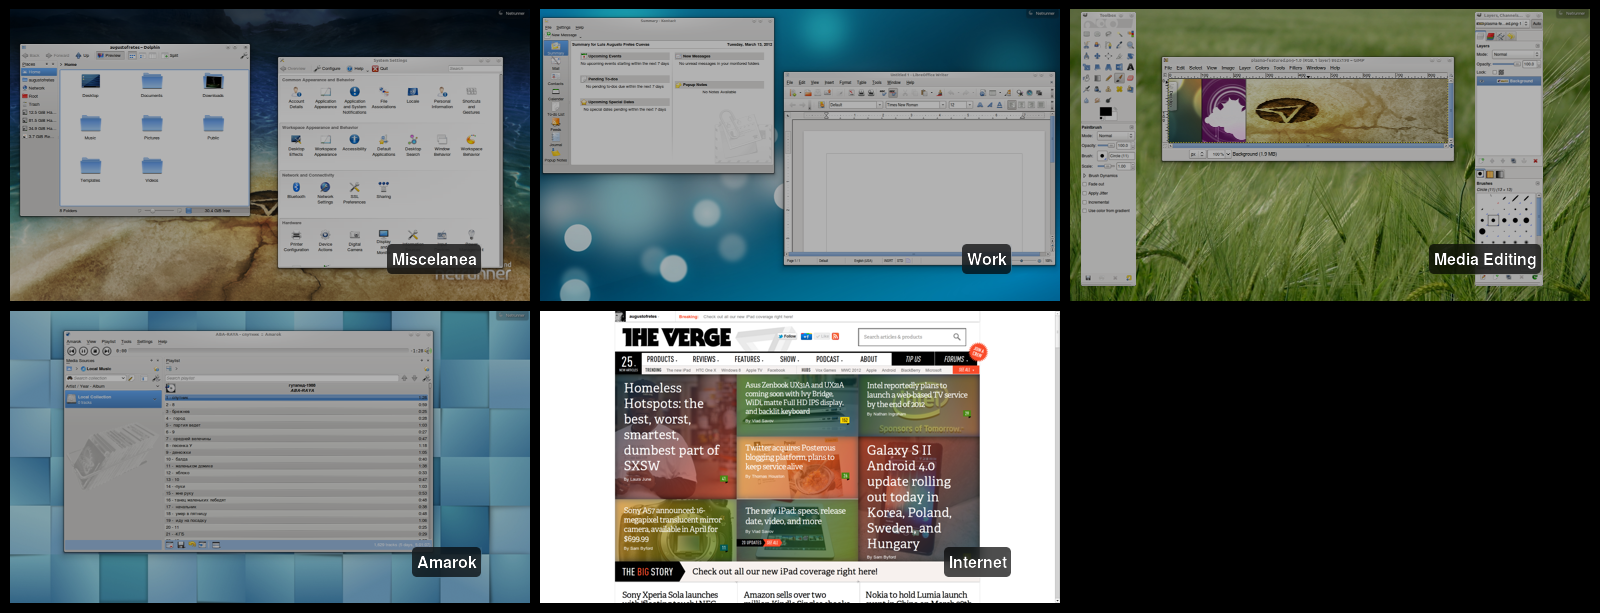
This is a very tempting idea, and to make things even faster and cleaner we may want each desktop to be named accordingly. By going to System Settings > Workspace Behavior > Virtual Desktops we can set how many desktops we want and how we want them to be named, you can even have an independent widget set on each Virtual Desktop, and a different background, this can be helpful as it serves as a hint to know which desktop you’re currently in. To further improve the experience you can set a hot corner to trigger the Desktop Grid, which, as it names suggests, will show all Virtual Desktops on a grid and all Windows on each desktop, this beautiful feature can be enabled by going to System Settings > Workspace Behavior > Screen Edges and clicking on the desired screen edge and selecting Desktop Grid.
The Desktop Grid’s specific settings can be found on System Settings > Desktop Effects > All Effects > Desktop Grid, you can set the spacing, whether windows should be all exposed using present windows, and how Desktops should be distributed.With almost no effort at all you can create a setup like the following
Our end result is a fully automatized way of using Virtual Desktops. Not content enough with partial solutions like Apple’s, Netrunner allows you to set very specific rules according to your own preferences, resulting in the integration of Virtual Desktops into your natural workflow, up to the point that you don’t even need to think about it, you set it once and after doing it you will only notice the advantages.


Awesome guide! I not using netrunner right now, but is an awesome tip for someone like me not used to virtual desktops or the kde activities
New to Netrunner after reading about Kubuntu’s link. Love the distro better than Mint KDE. Keep up the excellent work. This is now my default OS.