From Windows to Linux, Part 2: Multimedia applications
Welcome to the second article in the series, one which teaches the wonders of migration from Windows to Linux in small, easily digestible chunks, with step by step instructions and a plenty of great tips to get you cozily underway. In the first piece, we discussed office programs, how they can be installed and used, both from official application stores as well as manual downloads and setups. We learned how to use the Software Center in Linux Mint, and we repeated all our actions from the command line, too.
Today, we will focus on multimedia programs. Namely, how to get Flash, MP3 codecs and other associated bits configured properly, as well as review a short list of popular, recommended media players that should help you enjoy music and videos on your new Linux box. In this guide, we will use Ubuntu as the target platform, in order to demonstrate yet another distribution and its peculiarities. We will also briefly mention Fedora and openSUSE, as a sort of bonus.
Media thingie in a nutshell
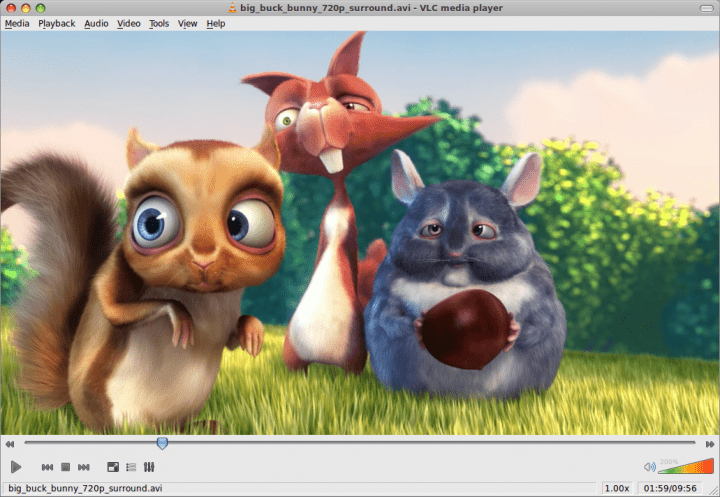
In Windows, the typical process for getting your music and film to play is usually as follows. After you setup your operating system, you try opening a file. By default, this will launch Windows Media Player, which may or may not be able to do the desired action. If you are missing media codecs, you will have to obtain them. Or alternatively, get a different media application, which can do all that out of the box. For instance, VideoLAN (VLC) is a typical choice, here. Now, finding codecs can a whole lot more difficult, and we will not discuss that part.
In Linux, things are not cardinally different, really. You have your files. Try to open one or two. The program associated by default to the specific file type will launch and attempt to play the content. If your system comes with necessary plugins, then you will succeed and enjoy entertainment right away. If not, you will be in a somewhat similar situation like Windows. But you do have one big advantage. A very rich application store, which comes with tons of great programs, utilities, tools, and codecs, from a safe, digitally signed source.
Therefore, there are several possibilities to consider. First, does your Linux distribution come with media plugins? The answer will depend on many factors. In some countries, it is illegal or costly to distribute media plugins, therefore the distribution will not have them, but you will have an option to download them during the installation process. In other countries, this is perfectly allowed, so a distribution with origin yonder will ship with everything preinstalled. Finally, you just may have a problem where the right plugins and codecs might not be available on your system, and you will have to manually obtain them. We will consider all these options.
And so, our exercise for today will include quite a bit. We will try to play media files in Ubuntu, which has been purposefully configured not to have any media codecs. Then, we will seek the codecs and install them. After that, we will briefly focus on several media programs that can serve instead of the familiar repertoire you know from Windows. As the last part, we will mention Fedora and openSUSE, two distributions where the mechanism for getting the media files is slightly different from the one outlined here. While I did promise focusing on one distribution at a time, we will deviate into the generosity area.
Ubuntu installation
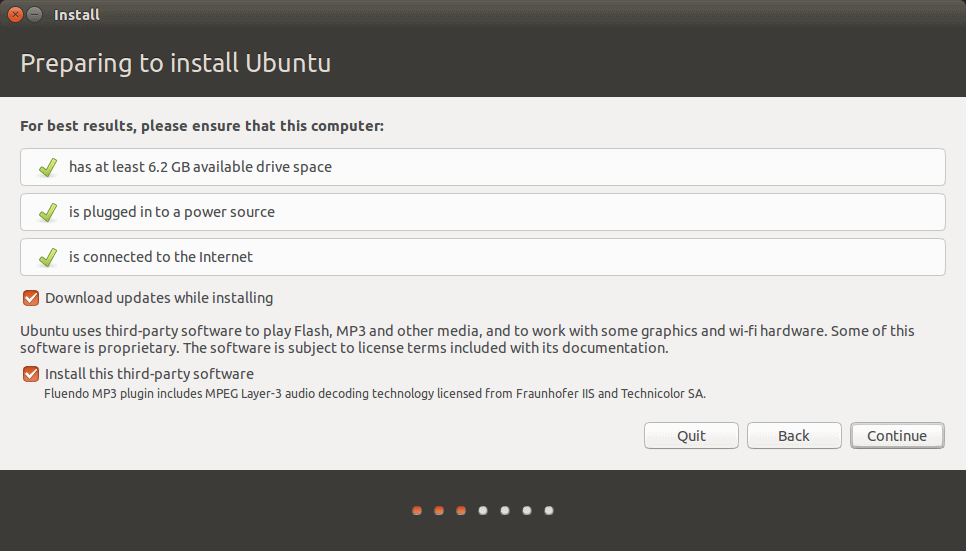
One of the steps during the Ubuntu installation process is to checkmark a box that says ‘Install this third-party software – Fluendo MP3 plugins includes MPEG Layer-3 audio decoding technology licensed from Fraunhofer IIS and Technicolor SA.’ If you do this, the system will download the necessary media codecs during the installation. Not only MP3 as it reads, but also additional stuff, including Flash. You will be all sorted out.
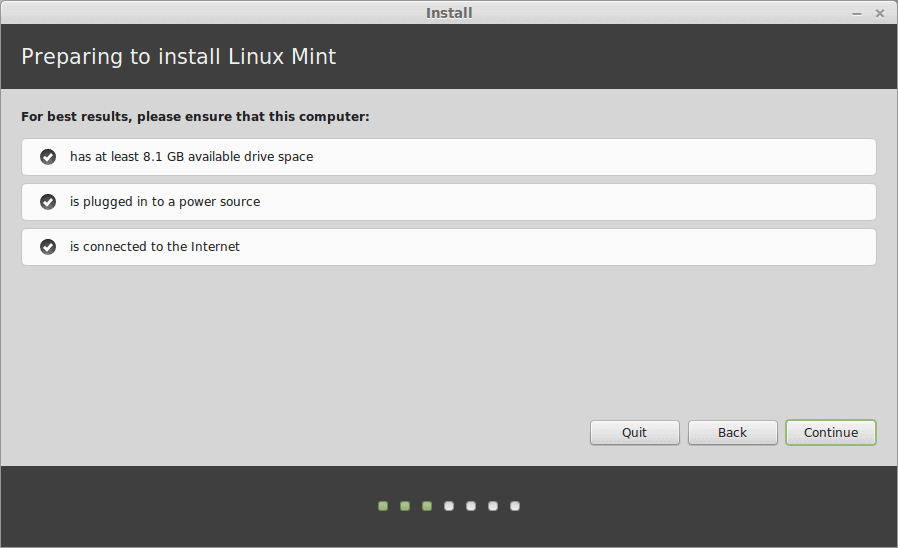
Contrast this please to Linux Mint, which does not have this option. The reason is, Linux Mint already ships with everything out of the box, one of the main reasons why it is such a popular and friendly distribution. No matter what media file you might want to try, you will probably succeed. This is also why I have not chosen Linux Mint here, because we want to learn about using Linux, and this also includes obtaining codecs on your own.
So now, let’s assume that you have forgotten to checkmark that option while setting up Ubuntu. Or maybe your Internet was down. But the simple end result is, you do not have the media codecs. Now, you want to play your favorite music, your videos, maybe even watch a clip on the Web somewhere, and this mandates Flash. What should you do?
Software Center, media codecs
We will do exactly what we did in the first article. We will search for the missing software. Like Linux Mint, Ubuntu features its own application store called Ubuntu Software Center (USC). The basic principle is almost identical. So in theory, you do not really need this guide. But we will pretend we do not know that. No wait, we won’t even start with the USC.
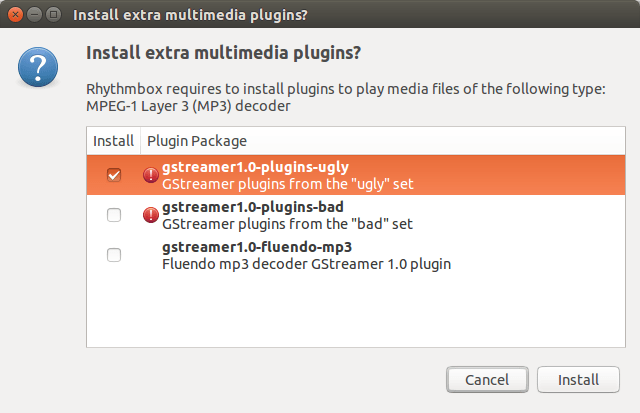
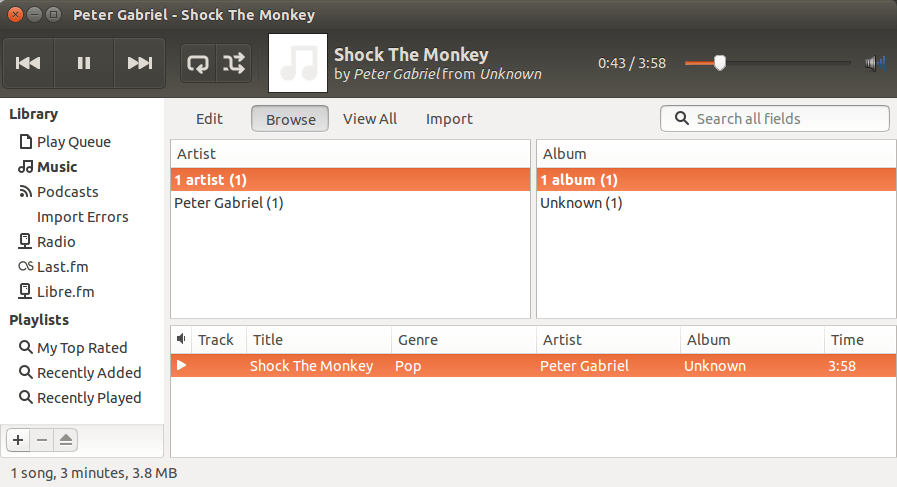
Let’s begin with double-clicking on a media file. That’s what normal people want to do. Find their collection, try to play the files. In case of an MP3 file, the default media player will launch Rhythmbox. On startup, this program will search for the right codec to match the file. If none is found, it will prompt you that extra multimedia plugins are required. Very dandy.
However, there are three options, and you might be confused. True, the first one is marked, but it reads ugly. Then, there’s bad. And finally, just the MP3 codec, like the one we saw in the installation wizard window. Here, you are facing your first real problem.
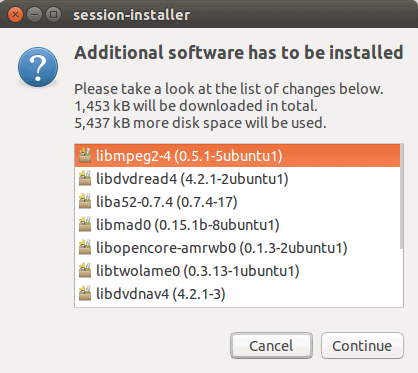
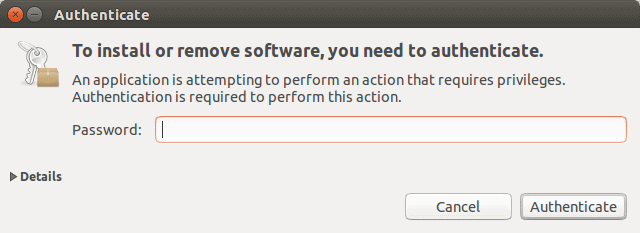
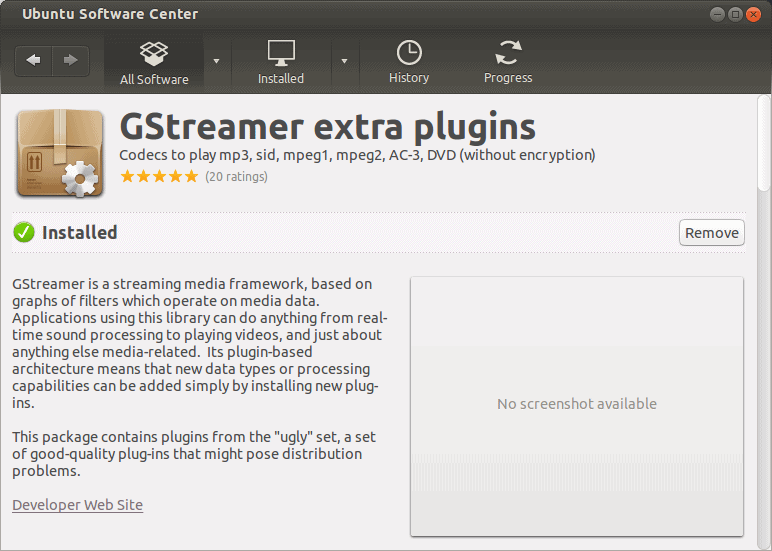
Let’s clarify things a little. There are three types of codecs. Yes, in a very nerdy fashion, they’ve been called the good, the bad and the ugly. But the thing is, the ‘ugly’ set is better than the bad one, contrary to the Spaghetti Western logic. Or maybe, when I think about it, all right, never mind. The bad set means less testing, less quality. So you do want the ugly set. Click install. The system will prompt you that it is going to try to install additional plugins, too. Provide your password, and wait for the plugins to install. Once this step is done, you will be able to enjoy your media files.
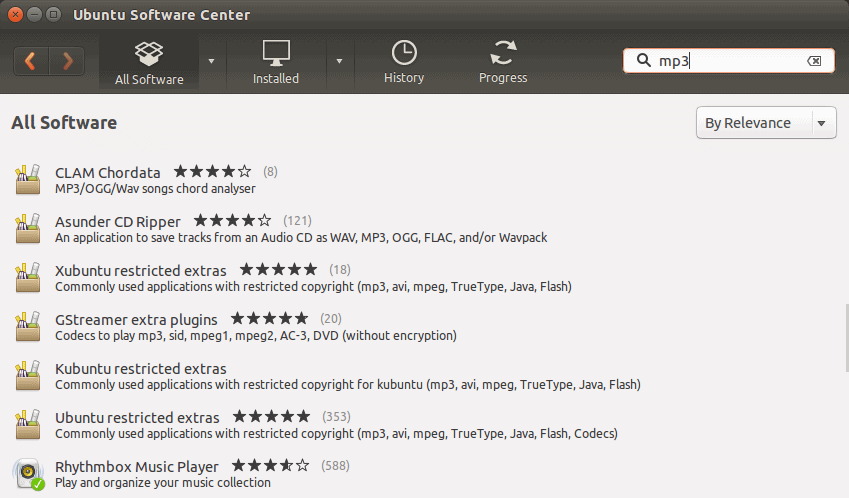
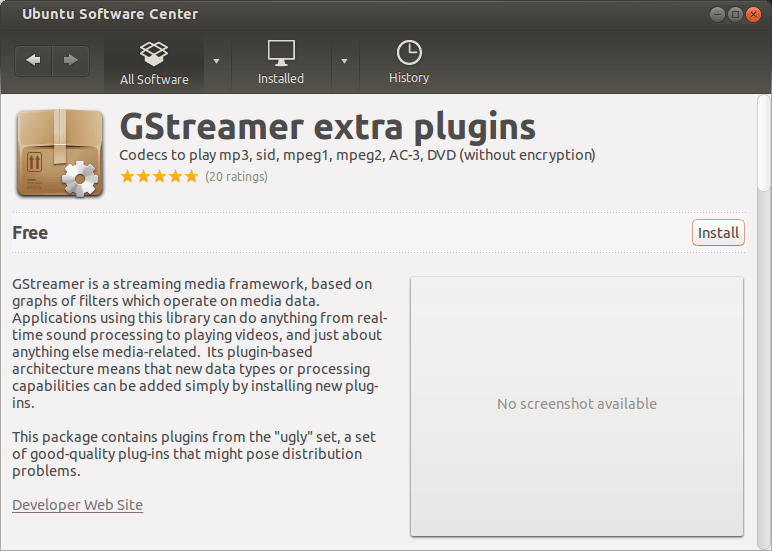
Now, let’s go back to the USC. Let’s assume that you somehow missed the prompt. You will need to manually search for the codecs. Let’s search for mp3, as simple as that. There will be lots of options. But the interesting ones read restricted extras, extra plugins, and so forth. You can see the right words right there, MP3, AVI, MPEG, Flash, Java, etc. Good. This is a typical search, very much like you would do in any application store.
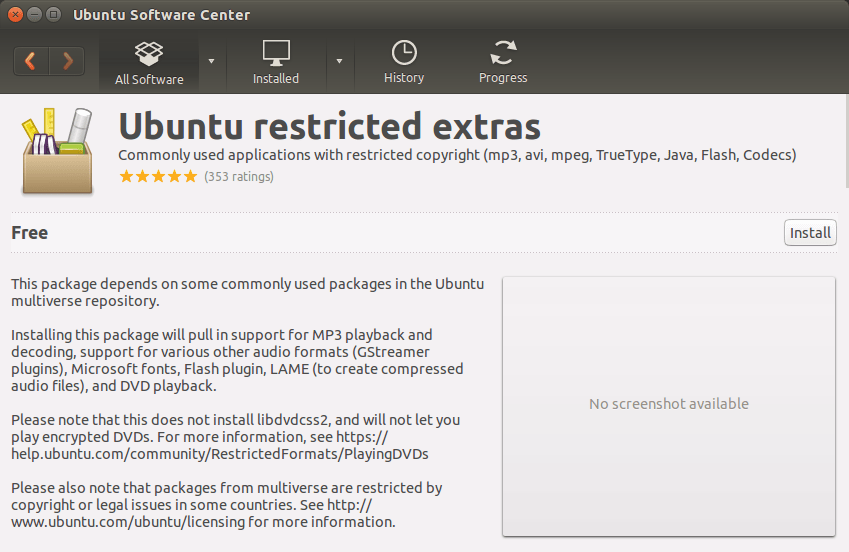
Since we’re running Ubuntu, the most logical sets reads Ubuntu restricted extras. It also has the highest number of five-star ratings, so that ought to tell us what gives. If you click on the entry, you will see a very detailed explanation, including instructions how to setup your system to play encrypted DVD.
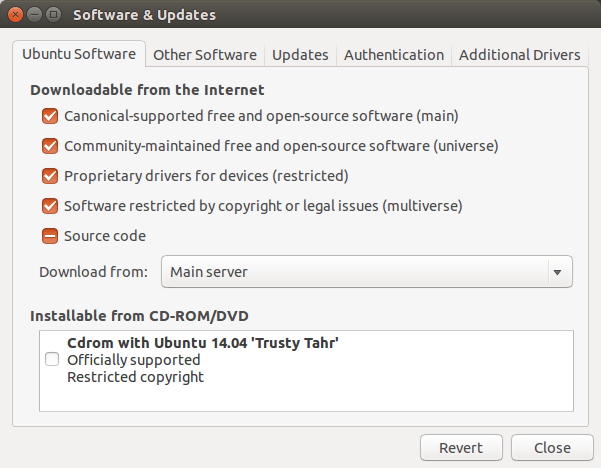
One more thing you need to pay attention to is the fact this package comes from a repository called multiverse. It’s one of several official sources for the USC store. If you decide to install this package, the source will automatically be added to the list of repositories in your system configuration. You can check this by going to USC > Menu > Edit > Software Sources.
Now, you could be confused, so you might want to install additional codecs. No problem. There will be no conflicts and no issues. Different Gstreamer plugin frameworks can safely coexist, and as an ordinary user, this should not concern you too much. In fact, there’s a quite a bit of redundancy in the way software plugins are provided. The ugly set is right there. But if you want additional functionality, then the multiverse repository will be enabled, and you will get the ugly set plus some extras. I know, it can be confusing. Which is why we are having this fine guide.
From the command line
As always, let us replicate the step from the terminal window. In fact, the command line makes more sense, as it is easier to manage, and the information overload is far less. Basically, it comes down to two things. You should enable the multiverse repository, and then, you should grab the ugly set. That’s about it.
So if you want the whole thing, then simply:
sudo apt-get install ubuntu-restricted-extras
If you’re after the Gstreamer plugins, we can search first:
sudo apt-cache search gstreamer | grep ugly
gstreamer0.10-plugins-ugly - GStreamer plugins from the "ugly" set
gstreamer0.10-plugins-ugly-dbg - GStreamer plugins from the "ugly" set (debug symbols)
gstreamer0.10-plugins-ugly-doc - GStreamer documentation for plugins from the "ugly" set
gstreamer1.0-plugins-ugly - GStreamer plugins from the "ugly" set
gstreamer1.0-plugins-ugly-dbg - GStreamer plugins from the "ugly" set (debug symbols)
gstreamer1.0-plugins-ugly-doc - GStreamer documentation for plugins from the "ugly" set
Wait! There are two versions of Gstreamer plugins! Why? Well, worry not. Think of them as two different versions of a program, and both happen to be available. Like Office 2007 and 2010. They can safely coexist side by side. It’s just that you should slowly and gently plan to keep using the newer version, as the old set has been retired. Anyhow, this means version 1.0, and you just need to install it using the familiar command line sequence of, well, commands.
sudo apt-get install gstreamer1.0-plugins-ugly
Flash and DVD
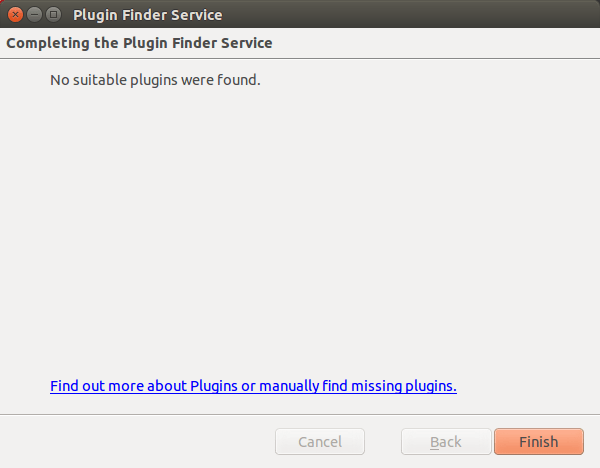
Let’s expand our exploration. The next item we need to cover is Flash. In Windows, if you launch a browser, and then go to a page that requires Flash, the browser will prompt you to download the plugin from the Adobe site. The same thing is true for Linux, except this method is not really going to work in most distributions. Let us demonstrate. Open Youtube, wait for the Firefox prompt, let it search for the plugin, and fail. We will naturally have to resort to using the official application store, the USC.
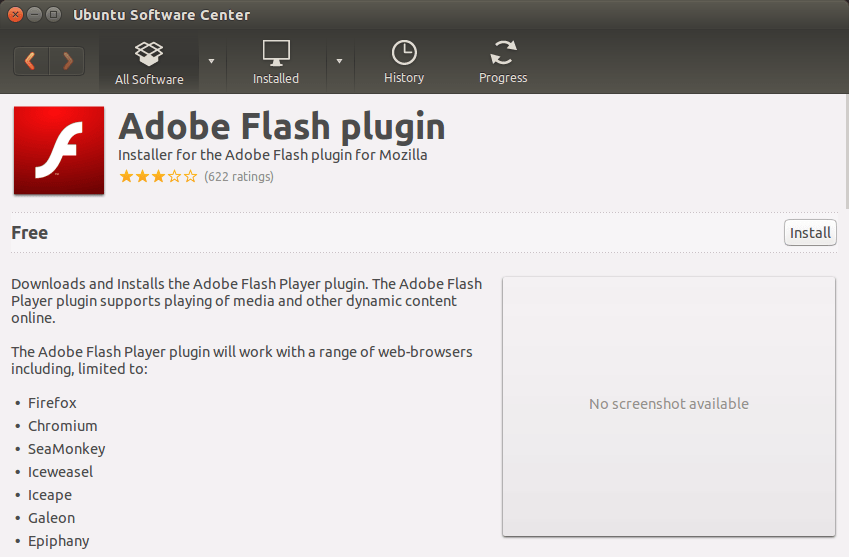
In the Ubuntu Software Center, let’s search for flash. By now, you should be comfortable using your desktop like this. You might call it a smartphone method, but this has existed in the Linux desktop long before smartphones were popular. In fact, the method of official repositories was most likely used as the model for the smartphone design. Anyhow, Adobe Flash plugin is kind of self explanatory.
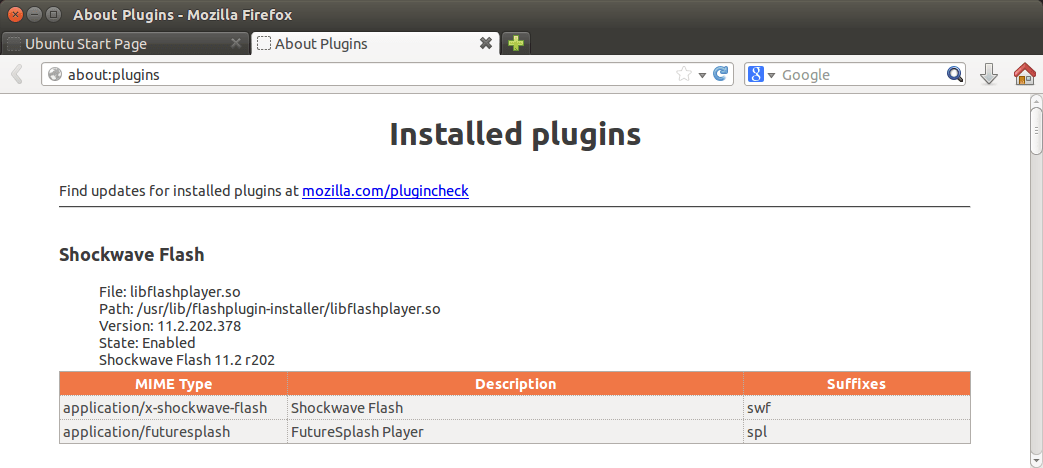
Once installed, you can check a few Flash-rich pages, or open the about:plugins page in the browser.
You might also want to read this very old article, which demonstrates an entirely manual method of obtaining the Flash plugin. It can be a little confusing, but normally, you will never have to resort to that. The use of the official repositories is the recommended method for modern Linux distributions. Or if you go for one that ships with everything bundled, then you will have it all right there, out of the box. However, despite six years of time between the publication of the above guide and the present, the basic principle remains pretty much identical.
Command line? Here we go:
sudo apt-get install flashplugin-installer
Reading package lists... Done
Building dependency tree
Reading state information... Done
The following extra packages will be installed:
 libnspr4-0d libnss3-1d
Suggested packages:
 x-ttcidfont-conf ttf-mscorefonts-installer ttf-bitstream-vera ttf-dejavu
 ttf-xfree86-nonfree xfs
The following NEW packages will be installed:
 flashplugin-installer libnspr4-0d libnss3-1d
0 upgraded, 3 newly installed, 0 to remove and 276 not upgraded.
Need to get 22.7 kB of archives.
After this operation, 283 kB of additional disk space will be used.
Do you want to continue? [Y/n]
With the DVD, you will need to install an extra package. And then, run a small configuration script. However, if you’ve installed the extras from multiverse, the whole thing will have been configured for you automatically. For more details, you might want to look at this wiki page, as well as my Ubuntu pimping guide.
sudo apt-get install libdvdread4
sudo /usr/share/doc/libdvdread4/install-css.sh
Playing media & media players
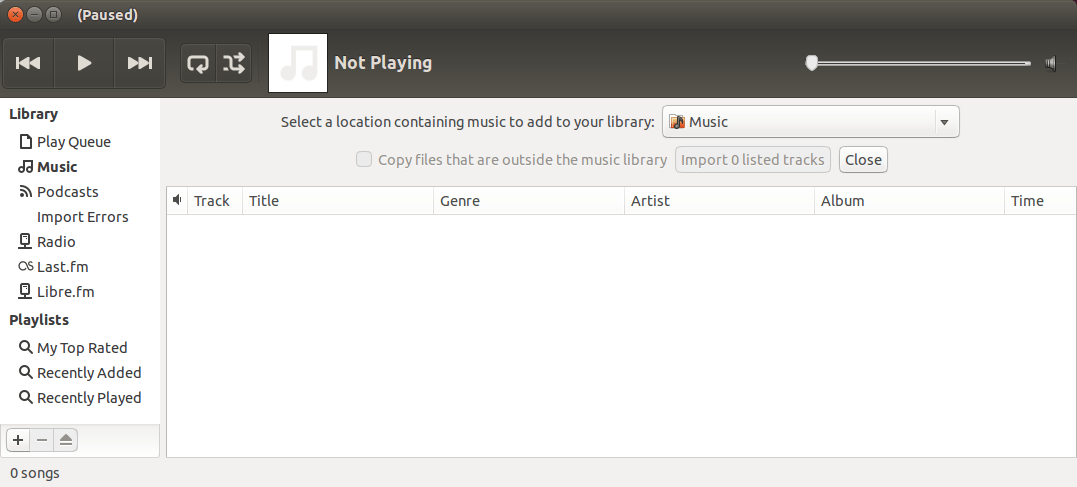
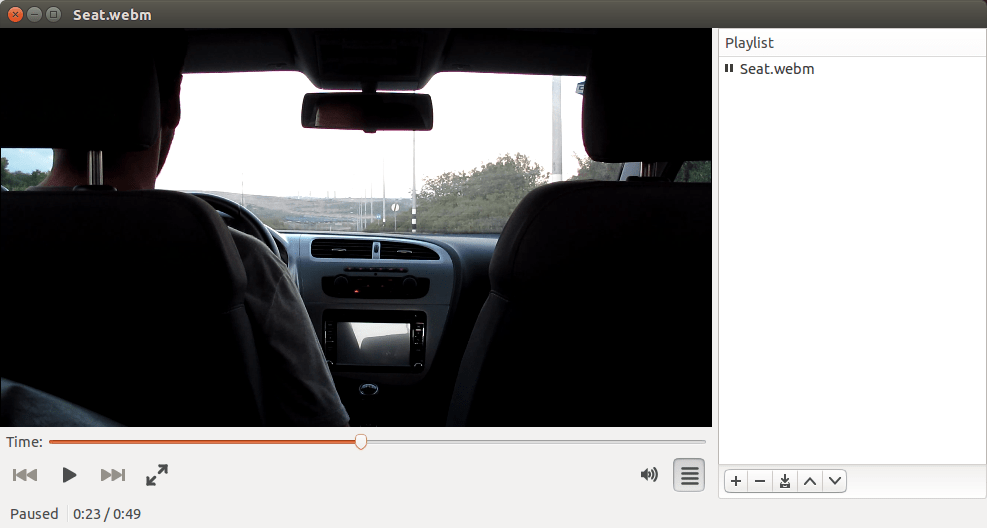
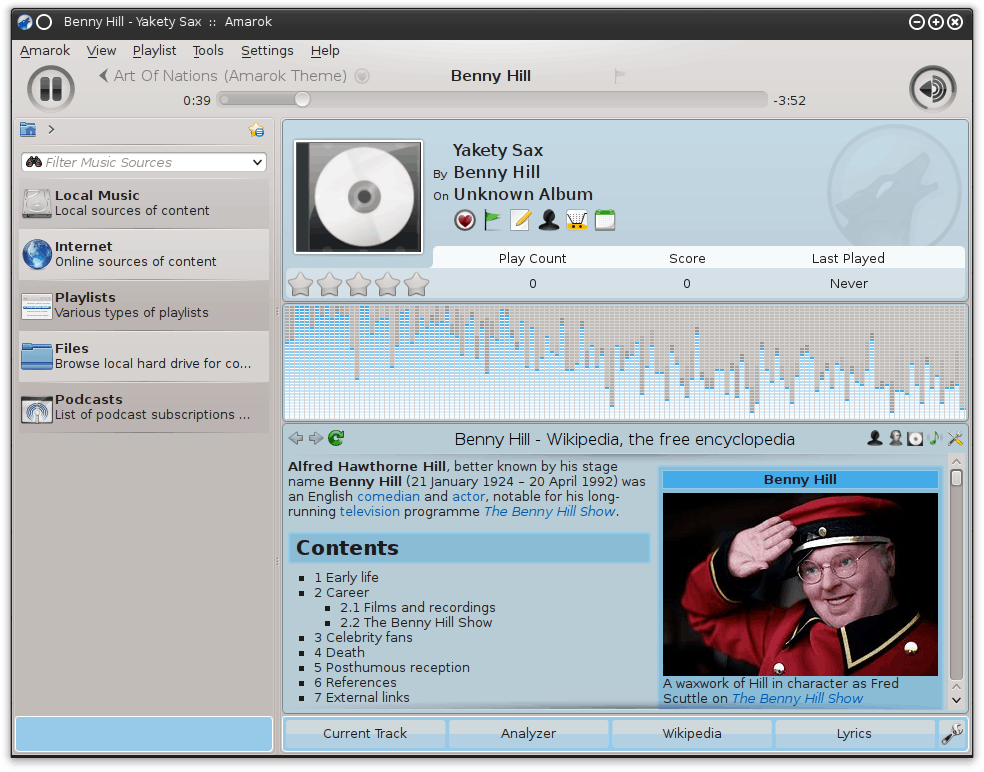
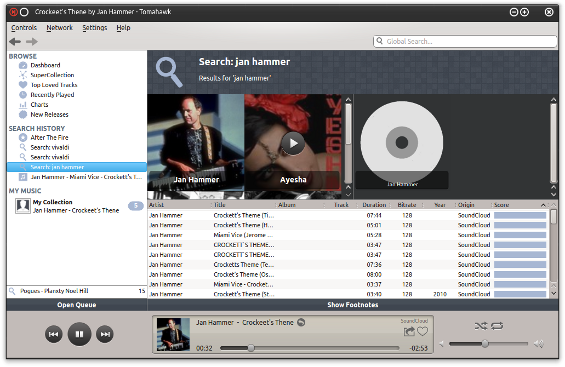
Now that we have all the plugins we need, it is time to start enjoying ourselves. Play some great content, entertain ourselves. To wit, you will need to familiarize yourself with a bunch of media players. Still, as a rule, all of them will ask you to select the default library, and then search for media files inside it. Very simple, very elegant.
Fedora & openSUSE
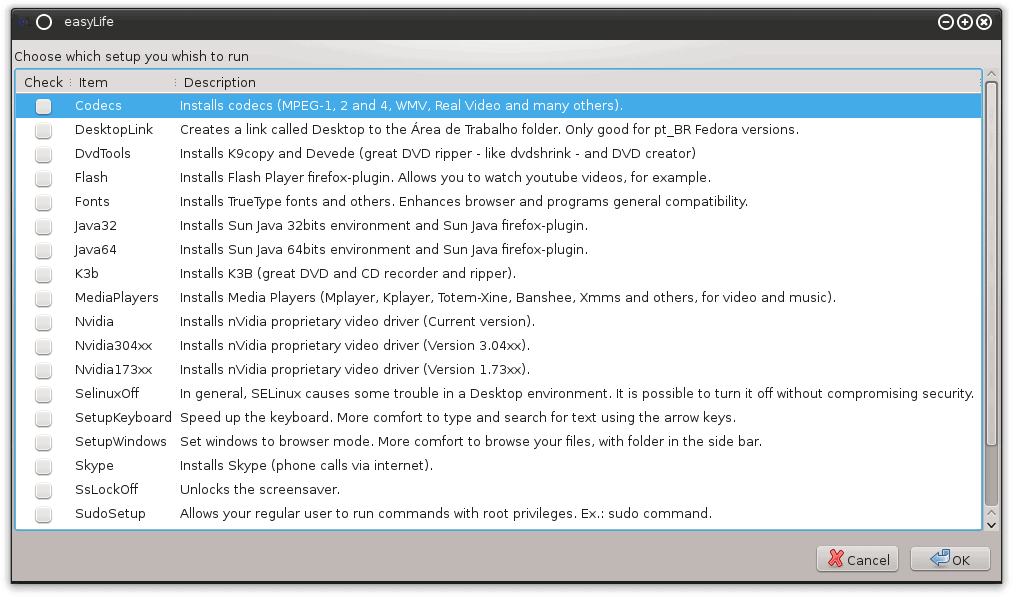
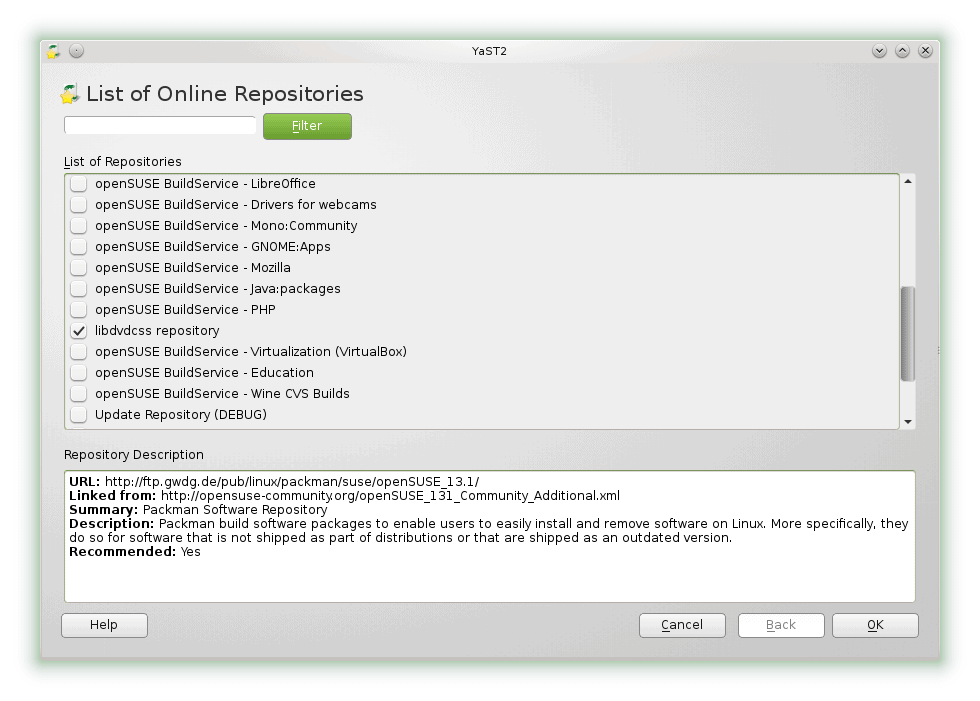
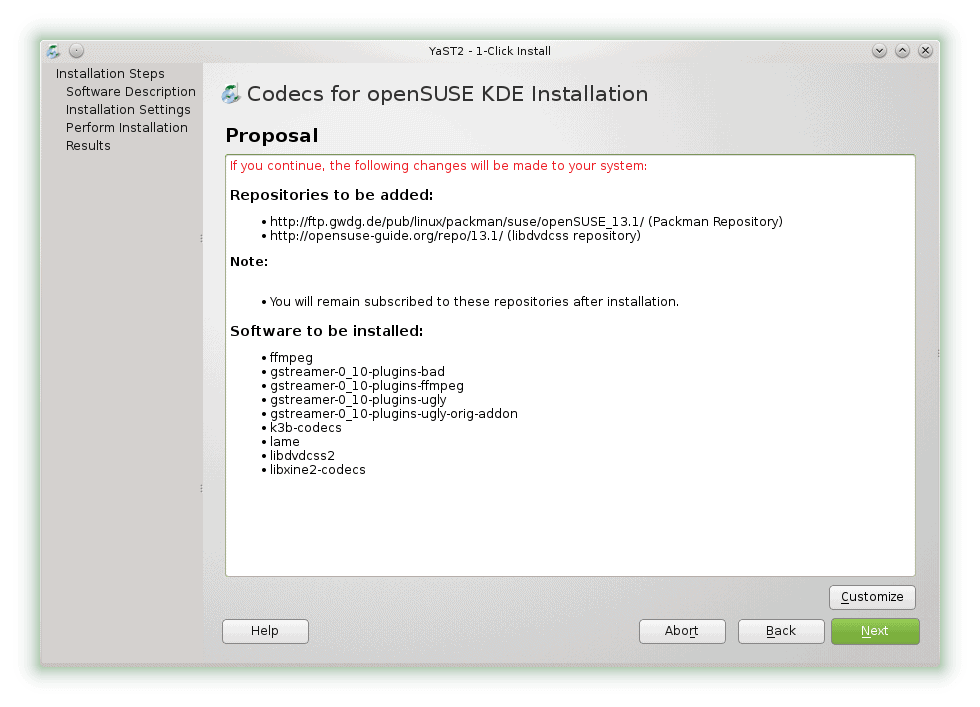
All right. So now we have come to two additional distributions, and things there are ever so slightly different. With Fedora, the problem is quite acute, because it does not ship with any proprietary software. So you will have to enable additional software sources as your first step, and then, obtain the missing content. OpenSUSE behaves slightly better, but it will too demand that you checkmark an additional software source before you can get the missing plugins. But openSUSE also offers one-click installers, which are quite handy.
Conclusion
And we’re done. This was quite long, you have to admit. But the main focus is on understanding what plugins and codecs are, and how they can be obtained, using the different methods, nomenclature and whatnot. We dabbled both in the official software store as well as the command line, so that gives us confidence and freedom. Furthermore, we briefly touched on the media applications, and now, it is up to you to decide which software suits you best. If you’re a VLC user in Windows, you might as well continue with your default choice. Finally, as perks, we saw that the procedure in other distribution, although not quite identical, is rather similar.
Now that you have your media stuff sorted out, and since you’re already enjoying the benefits of free office suites since the last time, your migration efforts to Linux are starting to pay off. There’s familiarity there, already, and there’s a fluid, efficient pattern of installing software from a single unified source, whether through GUI or the command line. The next time, we will explore yet another facet of the common desktop usage, and provide the necessary tips and tricks to solving it for new Linux converts.
Cheers.

